By setting a default Hub for your drivers allows you to make the route optimization process more efficient. Each time a route optimization is run, the drivers default hub is taken into account automatically, without the manual input of a hub.
Radaro uses this default hub for automated job optimizations, both solo and group, in order for drivers to complete their set of jobs with the shortest and quickest route. To learn about “Hubs” click here.
Note: In order to set Start and End Hubs for your driver, a Hub must first be created. To create new Hubs please follow the guide here. To learn more about route optimization click here.
Step 1
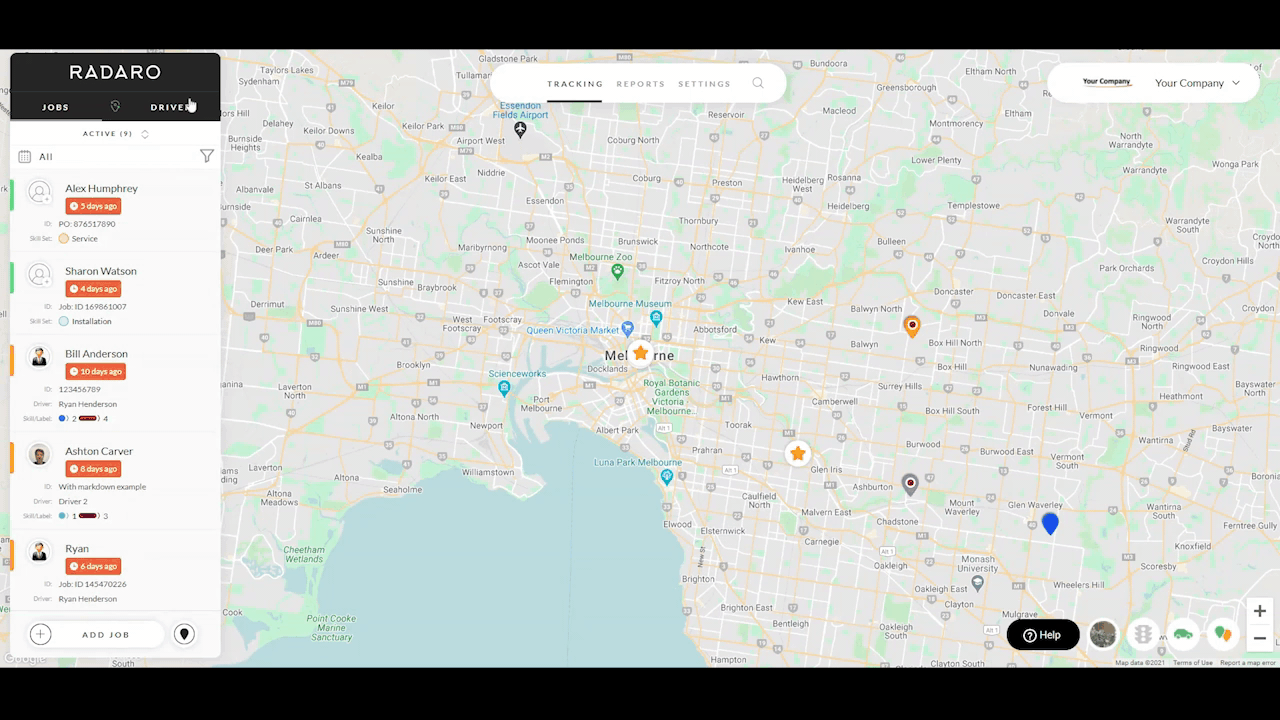
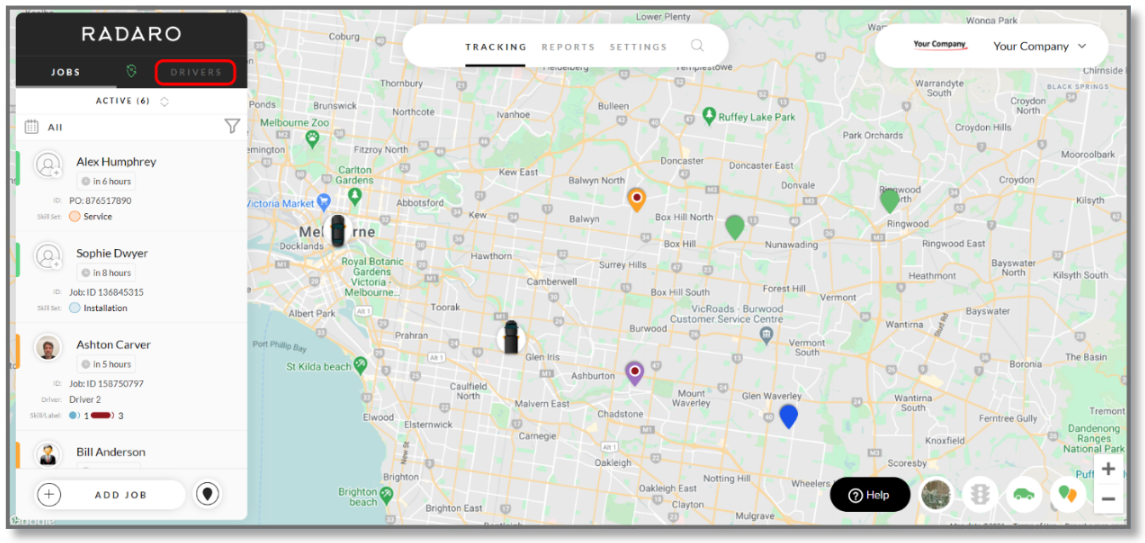
In the Merchant management portal, select “Drivers” from the left-hand side menu.
Step 2
Once on this menu, click twice on the Driver which you would like to edit default hub for.

Step 3
Select “Settings” from the three options directly under “Driver Info”.

Step 4
Select “Set Default Hubs” from the menu.

Step 5
Select a “Start hub” and an “End hub” from the drop down menus and click “apply”.
Note: In order to set Start and End Hubs for your driver, a Hub must first be created. To create new Hubs please follow the guide here.
