Job labels are an exciting data capture tool that enables you to clearly identify and communicate to drivers and merchants the nature of a job to be completed. Labels are fully customizable and can be easily created, edited and deleted from the management portal.
Step 1
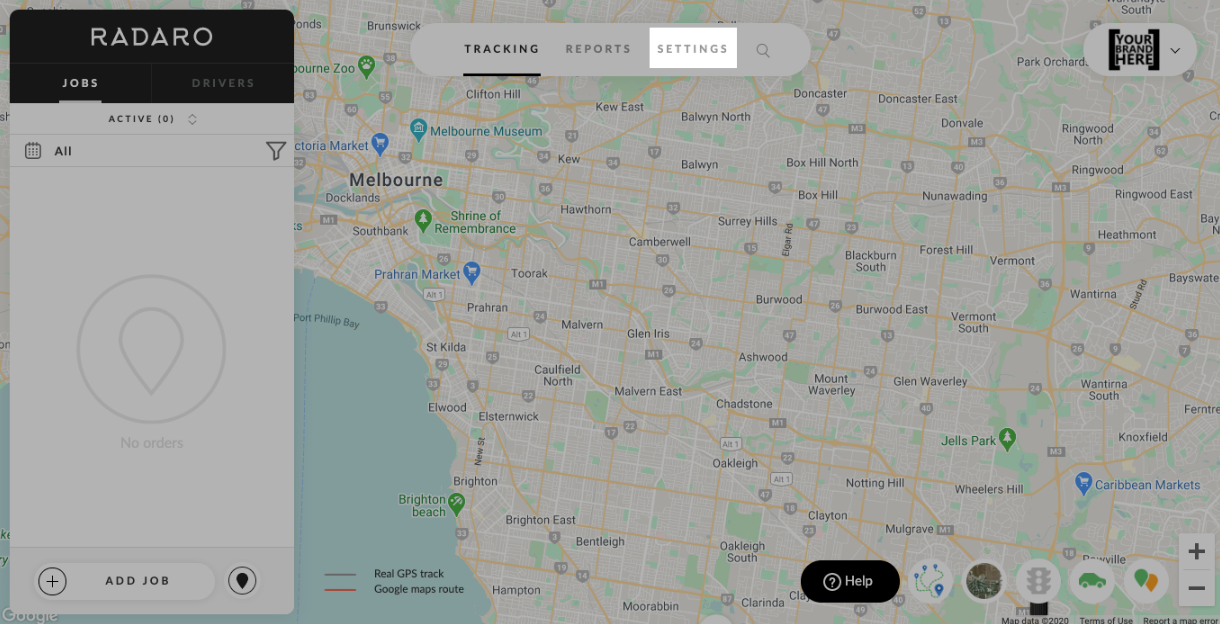
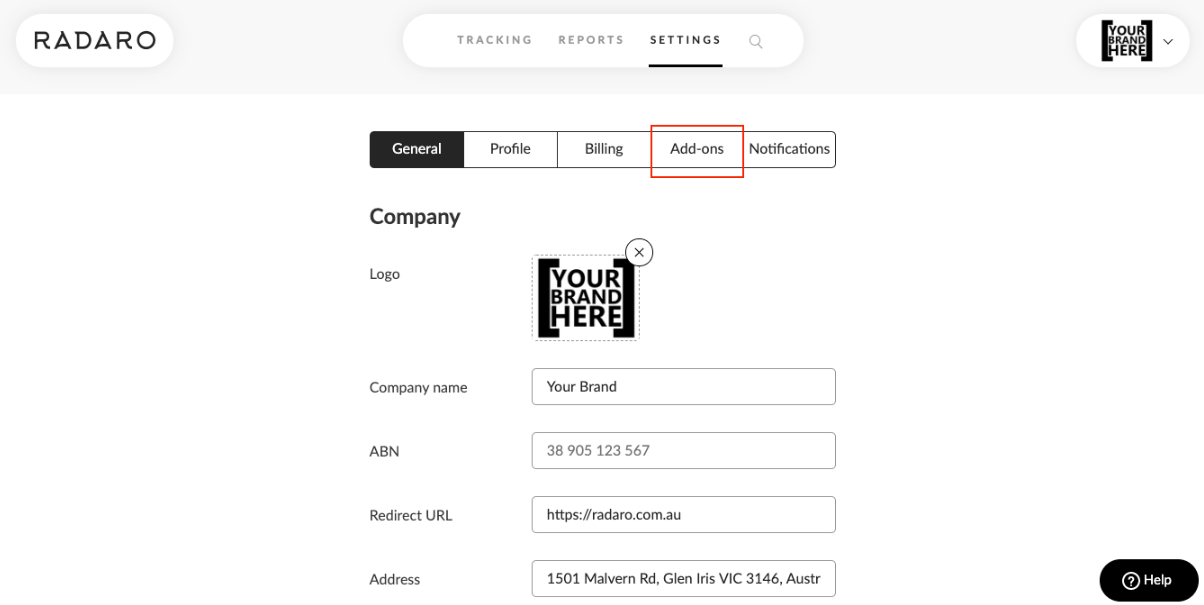
Log into the Radaro Management Portal and navigate to the settings button.
Step 2
In Settings, select Add-ons and scroll down to the "Labels" section.
Step 3
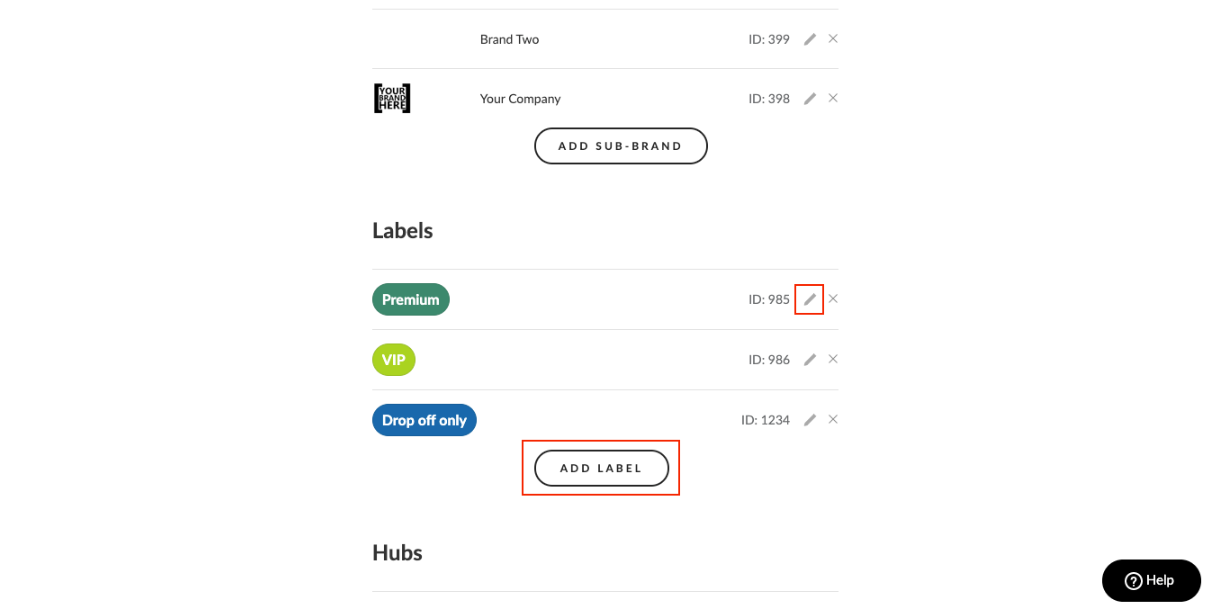
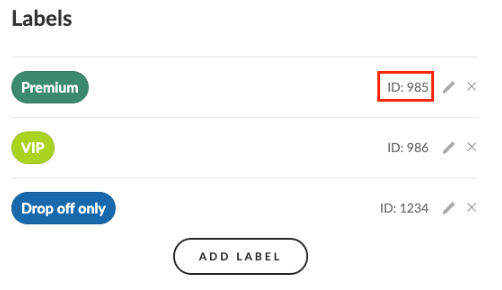
Select "Add Label" to add a new Label. Alternatively, select the  icon to edit an existing label.
Step 4
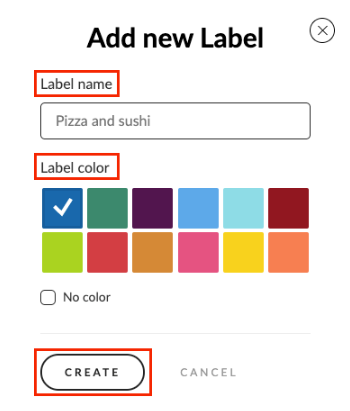
Type your preferred Label name, select a representing colour and select "Create".
And you're done! Each label contains a unique ID that represents it. These ID's can be used to assign to related jobs during job creation via bulk upload or API integration.
You can learn more about Job Labels here.
If you have questions about Job Labels or are interested in learning more about how Radaro can be integrated into your operations, contact your Radaro Account Manager or a member of the Radaro team via support@radaro.com.