On the main dashboard of the REACT Portal, locate and click the ‘Create new’ button. This is typically found as a prominent button on the dashboard.

Job Details:

- Job ID (Compulsory): Enter the unique identifier for the job.
- Job Reference: Provide a reference that relates to the job or leave it blank if not applicable.
- Name (Compulsory): Enter the full name of the customer involved in the escalation.
- Mobile: Provide the mobile phone number of the customer for contact purposes.
Merchant Details:
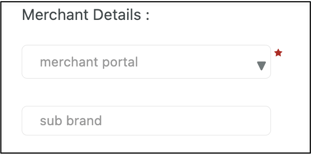
- Merchant Portal (Compulsory): Select the appropriate merchant portal from the dropdown menu.
- Sub Brand: If the escalation is related to a specific sub-brand, enter that information here.
Escalation Details:
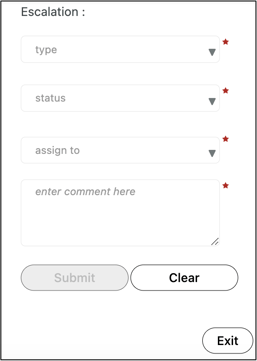
- Type (Compulsory): Choose the type of escalation from the dropdown menu, which categorizes the nature of the issue.
- Status (Compulsory): Set the current status of the escalation from the options available in the dropdown menu.
- Assign to (Compulsory): Select a team member to assign this escalation to from the dropdown menu.
- Enter Comment Here (Compulsory): Provide a detailed comment or description of the escalation for context and clarity.
Once all mandatory fields are complete, press ‘Submit’ to record the new customer escalation. If you need to start over or cancel, use the ‘Clear’ or ‘Exit’ buttons.
If you need assistance or have any queries regarding REACT, contact your Radaro Customer Success Manager or a member of the Radaro team via support@radaro.com.